Homemade Coppa / Capicola

It goes by a number of names - Coppa, Capicola, Capocollo... Whatever you call it, it might just be my favorite cured meat. We first had this tasty cured pork treat from Boccalone Salumeria in San Francisco, and have been big fans ever since.
Given our love of Coppa, I am overjoyed that we have now been able to successfully make it ourselves. Seeing the entire process whereby a humble piece of pork shoulder is transformed into a beautiful piece of cured meat was a very satisfying experience.
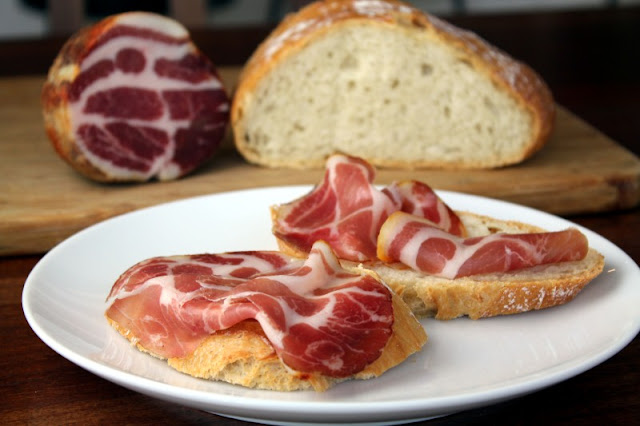
As I mentioned above, coppa is made from pork shoulder. More specifically - and where the name comes from - it uses the coppa muscle of the shoulder.
Here is the shoulder that we started with:
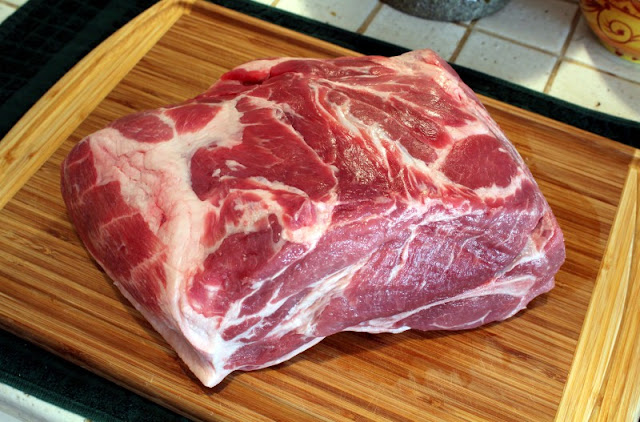
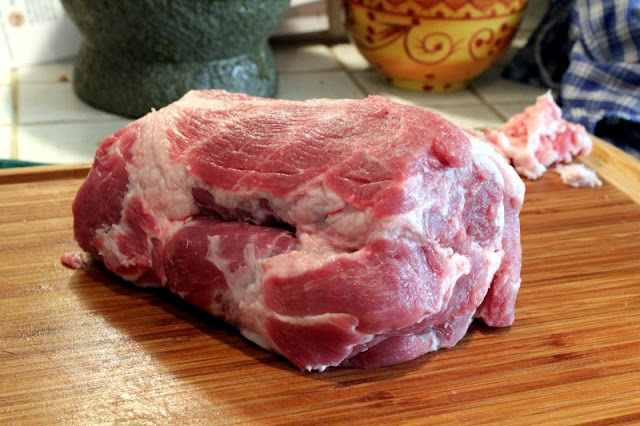
The coppa muscle is on the left, on the side of the shoulder away from the bone. Here you can see it after it has been removed from the rest of the shoulder:
The first step is a dry brining process - much like you would do for pancetta or homemade bacon. The dry brine is a simple mixture of kosher salt, cracked white peppercorns and curing salt #2:
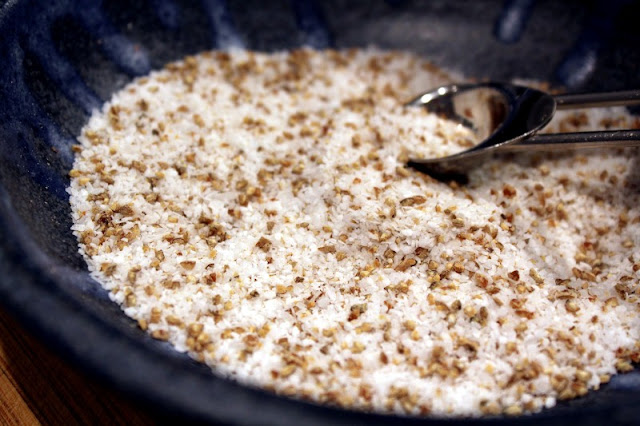
which gets rubbed onto the coppa:
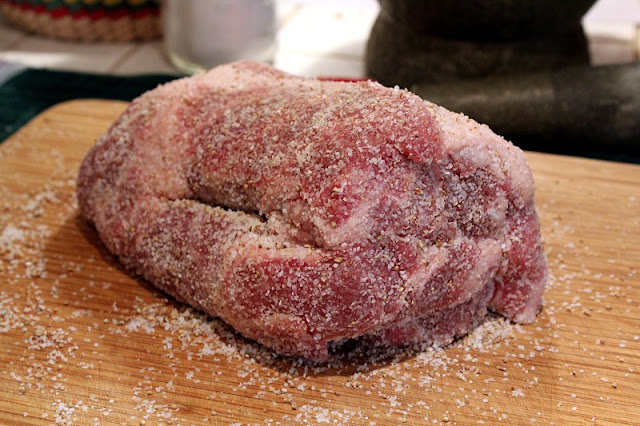
Then it gets wrapped in plastic wrap and refrigerated for about two weeks, or until the meat feels a bit more firm (this one took 16 days). The dry-brine is then rinsed off:
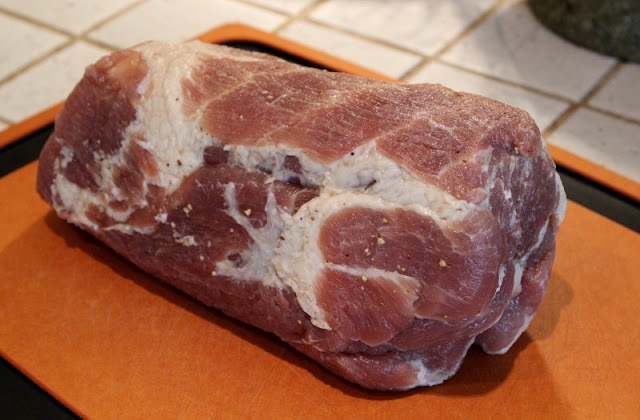
After drying at room temperature a couple hours, the surface is evenly coated with a mild blend of ground chile: Piment d'Espelette, sweet Hungarian paprika and a little cayenne.

Then the meat is ready to hang. We encased ours #10 elastic netting from Butcher&Packer. This helps keep its shape and makes hanging easier.
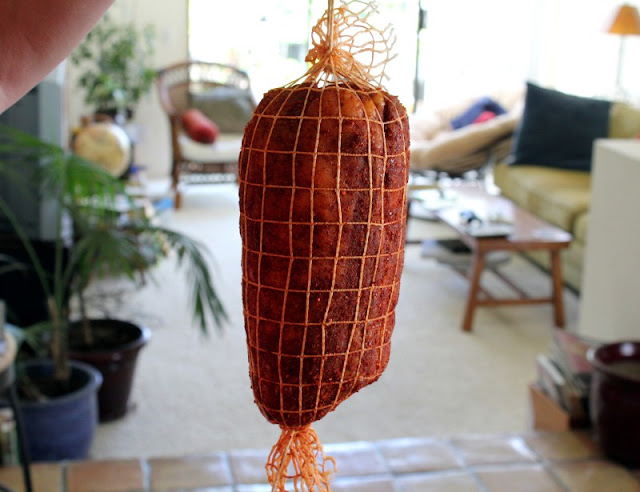
Nicely trussed up, it went into our curing chamber / beer fridge set at 52-55 degrees fahrenheit.

The biggest challenge was keeping the humidity where it needed to be.
We used a Sunpentown Mini-Humidifier (the white plastic doo-dad in the upper right), which was helpful, but not problem-free. It would probably work well in a large space, but even at the lowest setting it put the humidity at 90%. It would also run out of water very quickly at which point the humidity dropped to less than 50%.
We solved the problem by plugging the unit into an appliance timer and setting it to turn off and on every 15 minutes.This way we were able to start at about 80% humidity for the first couple weeks, then slowly drop it down to 65-70% over the remainder of the curing period.
After 7 weeks, the coppa had dropped from a starting weight of 2 pounds, 13 ounces to a final weight of just over two pounds - a loss of just under 30%.
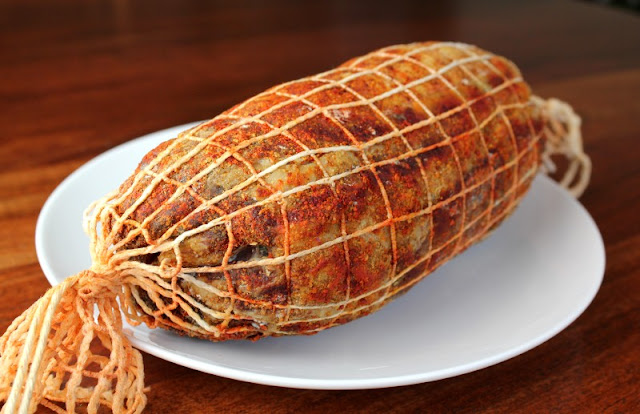
It wasn't quite ready yet, though. We put it back in the fridge for another two weeks (patience is a necessary virtue in meat curing!) to let the moisture content even out.
Then, finally, it was time! From the outside it was hard to tell how we had done, but once we cut into it we knew we had something special on our hands:

Ruby red meat. Clean, white fat. And it tastes as good as it looks. Incredible aroma and depth of flavor.
Thinly sliced using our EdgeCraft Food Slicer, it makes a great snack on crackers or a slice of bread.

We'll pull together our notes and write up a detailed recipe soon.

