Vegetable Pakora with Tamarind Dipping Sauce
It has been quite some time since we've posted an addition to our collection of Indian takeaway recipes. The main reason for this is that we live thousands of miles and an ocean away from the nearest Indian takeaway. While I can't say for certain that the specific kind of Indian food we enjoyed while we lived in Edinburgh does not exist here in the US, we definitely haven't found it.
Recently, however, we were craving Pakora - the fried gram (chick pea) flour snacks that always used to come with our takeaway curry meals. Searching the internet for recipes, mostly what I turned up were recipes for vegetables coated in a gram flour batter and then fried (kind of like an Indian take on tempura). While that sounds good, it is definitely not what we remember - the Pakora were more uniform in texture, without any large chunks of vegetables.
Finally, I came across suggestions to use grated vegetables. The light bulb in my brain went off, and we set about making Pakora.
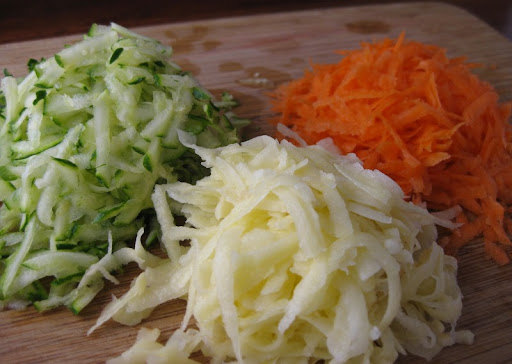
Start with zucchini (courgette, for our readers from the UK), carrot and potato - coarsely shredded using a grater:
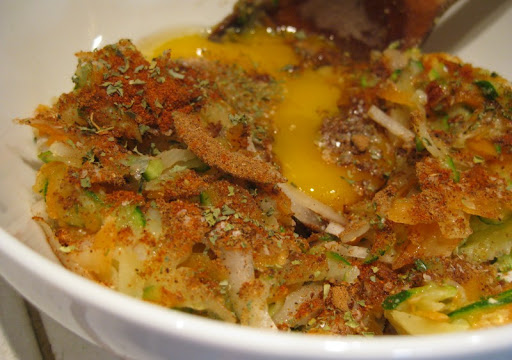
The vegetables get quickly blanched in lightly salted water and then drained. They are then mixed with some sliced onion, Serrano chile, an egg and a mixture of spices (see the recipe at the bottom of the post for details).
I want to take a second to highlight one element of the seasoning - fenugreek leaves (or "Kasuri Methi", as labeled at our local Indian market):
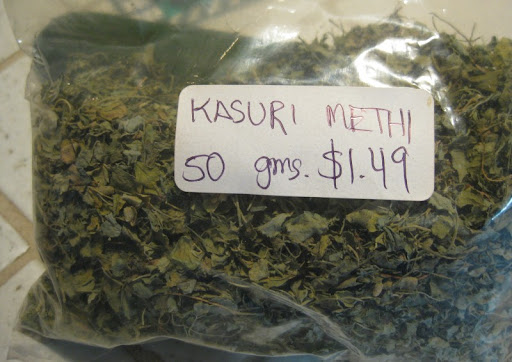
We discovered fenugreek leaves recently because they were called for in a recipe we were making. We've been using fenugreek seeds for a long time (they are a key ingredient in our Saag recipe), but the leaves are a relatively new ingredient for us. We really like them - they have an absolutely fantastic aroma and we need to find ways to use them more often.
But back to the recipe - the next step is to add the gram flour - enough to add body without completely losing the moistness of the mixture.

Then you drop spoonfuls of the batter into hot oil where they form irregular ball-shapes (bigger than a golf ball, but not by too much) and deep-fry them at 375°F until they are a dark, golden brown.
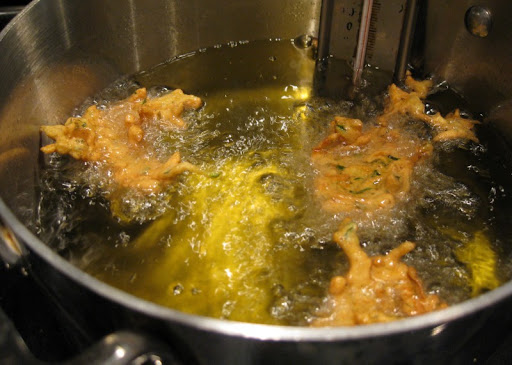
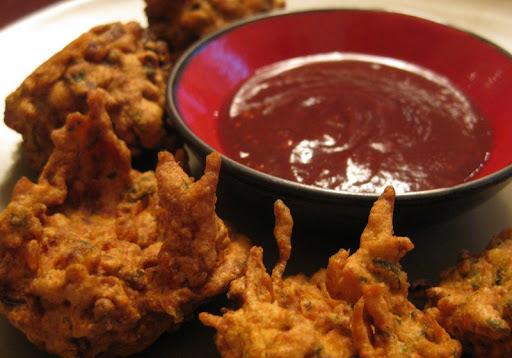
They come out looking like this:

Now onto the dipping sauce. The Pakora we got from our local takeaway always came with a tangy, dark red sauce. We didn't know what it was at the time, but have since found out that it is tamarind based.
Tamarind pulp comes looking like this:

After soaking it in hot water for about 10 minutes, it softens so that it can be put it through a fine mesh strainer or sieve to get a nice, smooth paste.
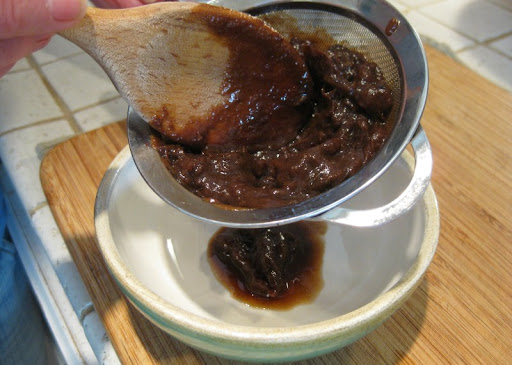
After mixing in some ketchup, roasted garlic, sugar and a bit of salt and cayenne, the sauce is ready to go - flavor-wise, at least. But it still doesn't have the characteristic reddish tinge. The solution? Red food coloring - the same kind that we use in our Chicken Pathia recipe.
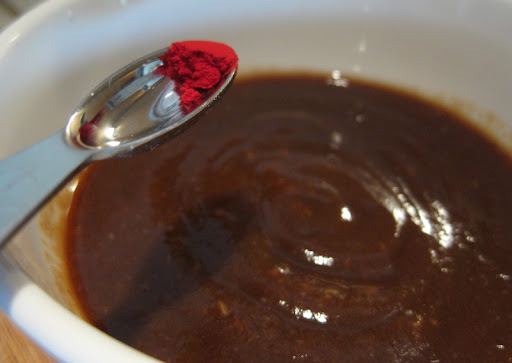
You can certainly omit the coloring, but we like to add it to make the sauce look "right".

Then, all that's left is to dip and eat!

While it has been over ten years since our last genuine takeaway Pakora, the memory of them is still strong and I think that these are a very good step in the right direction. Any suggestions on ways to make them even better are most definitely welcome.
Makes 12 Pakora.
1 small zucchini, grated
1 small potato, peeled and grated
1/4 onion, thinly sliced and cut in 3/4-inch lengths
1/2 serrano chile, minced
1 egg
1 teaspoon oil
1 1/4 cups gram flour, plus more if needed
1/4 teaspoon turmeric
1 teaspoon garam masala
1 teaspoon kosher salt
1/2 teaspoon fenugreek leaves, crumbled
1/4 teaspoon cayenne
1 garlic clove, pan roasted and mashed
vegetable oil for frying (peanut or canola)
Blanch the carrots, zucchini and potato in lightly salted boiling water for 2 minutes. Drain and let cool in the strainer for 15-20 minutes.
Stir together the vegetables, onion, chile, garlic, egg, oil and spices until thoroughly mixed. Add the gram flour and blend. The batter should be fairly loose, but not runny.
Put about 2 inches of oil into a heavy, high sided pan and heat to 375 degrees. Using two large spoons, scoop some batter with one and carefully push it into the hot oil with the other. The pakora should immediately rise to the surface forming irregular ball shapes -- if it sinks, the oil is not hot enough. Work in batches to avoid over-cooling the oil and cook each pakora to a deep, golden brown color, about 5 minutes.
Serve hot or at room tempurature.
Makes about half a cup.
1/2 cup hot water, divided
1 teaspoon sugar
1 tablespoon ketchup
2-3 pan roasted garlic
1/4 teaspoon kosher salt
Red food coloring
Place the tamarind paste in a small bowl and add 1/4 cup of hot water. Break up the paste with a spoon, then let sit for 5 minutes. Smash the paste in the water, then force through a fine mesh strainer, pushing as much of the dissolved portion through as you can. Return the leftover seeds and skin to the bowl, add another 2-3 tablespoons hot water and let sit for another 5 minutes. Stir and strain again. You should end up with 3-4 tablespoons of smooth tamarind sauce.
Peel the garlic, sprinkle with the salt and use the side of a large knife to smash the garlic into a paste. Chop through the paste to make sure no large chunks remain, then add it to the tamarind sauce. Stir in the sugar, ketchup and enough food coloring to obtain a noticeable red color. Thin to your desired consistency with up to 3 tablespoons of cool water.

