Hot-Smoked Chicken

While "Low and Slow" may be the rule when it comes to us using our smoker, every rule has its exceptions. We sometimes use it more like a standard barbecue, but with smoke as an added bonus.
Hot-smoking chicken is one of our favorite applications of this technique. The smoking takes less than a couple of hours, so as long as you've prepped your chicken ahead of time you can smoke it and eat it for dinner all in one evening.
We put a spice rub (see the recipe at the end of the post) on the bird either the night before or the morning of smoking. While it is better with more time, it still works fine even if you only do it a few hours before you want to start smoking the bird.
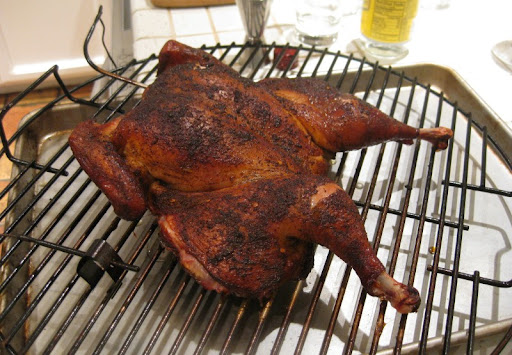
Fire up the smoker to about 300°F and place a foil covered empty water pan into the cooker as a drip tray. Put on smoke wood (pecan and mesquite are nice), and smoke the chicken at 300-330°F for 60-75 minutes or until the temperature of the breast meat is just over 160°F.
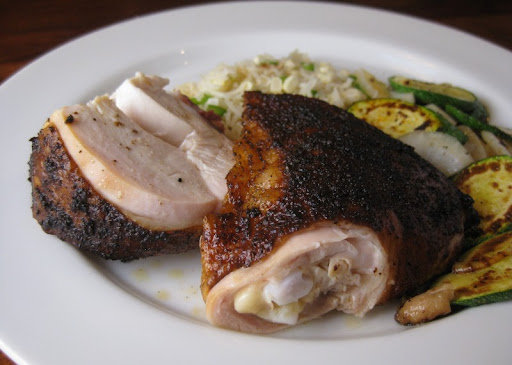
The result is tender and juicy, lightly smoky and packs a flavor punch and some heat from the spice rub.
Definitely a great way to enjoy a chicken. If you've been neglecting your smoker, this is an easy way to get yourself back into the groove.
You can make any quantity: if you use teaspoons you'll get about 1/3 cup (enough for about 2 chickens). Use tablespoons and you'll end up with a little less than 1 cup.
3 parts Mexican Oregano
2 parts Paprika
2 parts Cumin
2 parts Dried Parsley
1 part Garlic Powder
1/2 part Cayenne
1 part Kosher Salt
Mix everything except the salt together. Grind in a spice grinder until the parsley and oregano are chopped very finely. Add the salt and mix thoroughly.
Season the bird either the night before or the morning of smoking. To butterfly your chicken, simply use some kitchen shears to cut down each side of the back bone and remove it. Then turn the bird over and press on the breast bone to flatten it.
2-3 tablespoons Spicy Chicken Rub
Kosher salt
Smoke woods such as hickory, pecan, alder or mesquite
Sprinkle kosher salt evenly over the bird, on all sides (use about 1/2 teaspoon per pound). Lay the bird on a tray, skin side down and sprinkle with some of the spice rub. Turn the bird over, skin side up and sprinkle a generous portion of spice rub evenly on the skin. Store the chicken in the refrigerator, uncovered until ready to smoke.
Heat the smoker to about 300°F, add smoke wood to the fire, and place bird on the grill (use an empty water pan covered with foil as a drip tray). Smoke at 300-330°F for 60-75 minutes or until the internal temperature of the breast reaches about 160-163°F. Remove from smoker and let rest 15 minutes before carving.


