Making Homemade Tofu

We picked up Andrea Nguyen's excellent book, Asian Tofu, on a whim a couple of years ago. We haven't historically eaten a lot of tofu, but the idea that you could make it at home seemed intriguing.
Why make your own tofu? It is just better than what you can buy at the store. It tastes better and has a nicer texture. And once you get the hang of it, it really isn't that difficult to do. Our first batch was a revelation, and ever since then we've been making fresh, homemade tofu on regular basis.
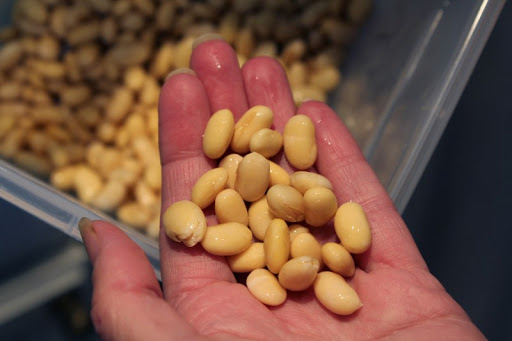
It all starts with soy beans. Soak them overnight and they turn from hard little round balls into the familiar bean shape:
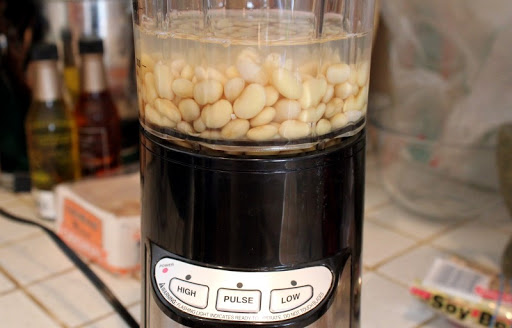
They get blended with cool water:
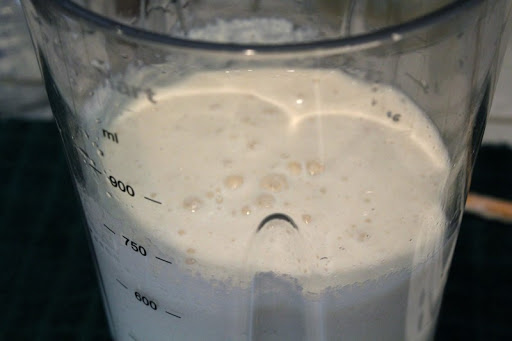
until you have a smooth, frothy milkshake type mixture:
The bean puree gets put into a pot with some additional water and heated over medium high heat until a thick foam layer forms on top - similar to fluffy, beaten egg whites. You need to watch the pot carefully here, as the foam forms suddenly and rises quickly toward the top of the pot. It's pretty obvious when the change occurs - take it off the heat at that point.

Set a colander over another pot and line it with fine cheesecloth or butter muslin. Ladle in the cooked mixture and let it drain.
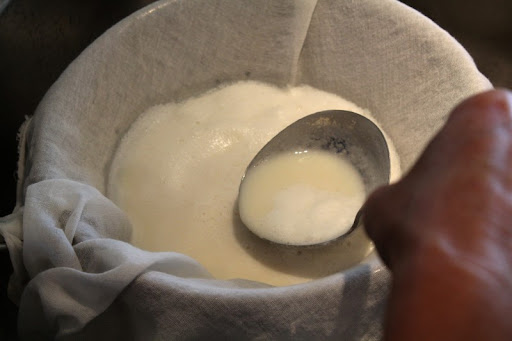
Once the solids have cooled enough, you need to twist, prod, and squeeze the mass to extract as much soy milk as you can. It's the soy milk that will eventually be made into tofu.

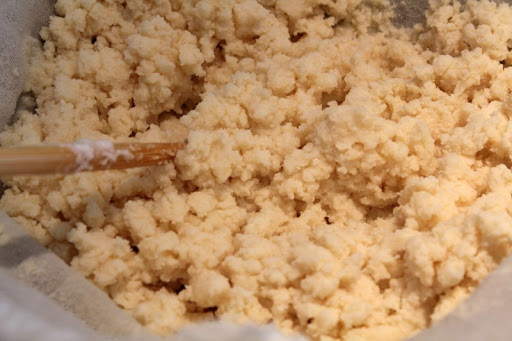
Inside the bag you have the ground up soy bean solids, called the lees. They get a little more water added to them and then the cheese cloth gets squeezed again, removing even more soy milk. The lees can be discarded or cooked in other products. They're grainy and don't have much flavor, but still contain nutrients.
The resulting soy milk gets cooked at a very low simmer for five to ten minutes in order to make it fully digestible.We don't typically use soy milk directly, but if you do then at this stage you have your own homemade version.
Finally a coagulant needs to be added, causing the soy milk to set into curds, similar to making cheese - but easier! We've used a couple different coagulants. The one pictured below is gypsum, a water hardener purchased at our local home brew supply shop. It's a fine white powder mixed with water before stirring into the soy milk.

More recently we've been using nigari, a clear liquid of salts made from sea water. It can be found at Japanese supermarkets. In our experience, the nigari makes a more smoothly textured tofu.
The warm soy milk gets strongly agitated while blending in the coagulant, then it is set aside to rest for about five minutes. A little more coagulant is added to the surface, and after another five minutes or so, milky curds will have formed and separated from the clear, yellowish liquid. At this point it can help to gently press the curds in the pot and scoop out as much liquid as possible before attempting to deal with the curds.
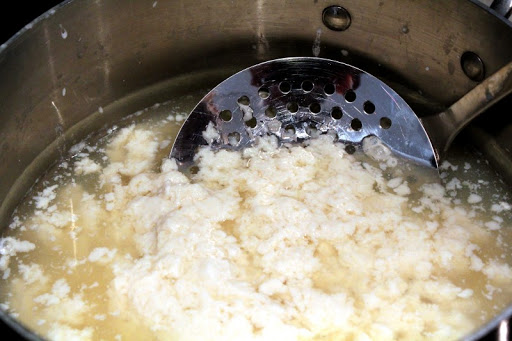
For the block tofu we've been making, the curds need to be ladled into a cloth-lined mold for shaping and pressing.
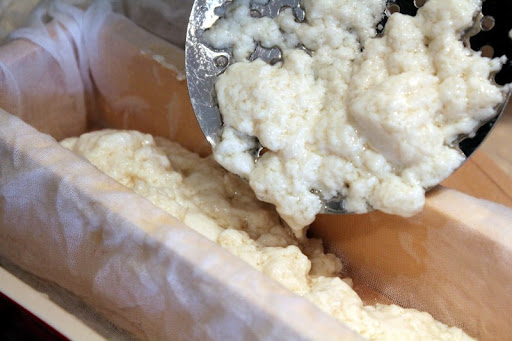
We don't have a traditional rectangular tofu mold, but we happen to have a wooden sushi box press (an oshizushi mold), and it has served us well. You can also use a lined colander or other mold - it just needs to have outlets to release the excess liquid.

Depending upon the firmness you desire, pressing only takes 15 to 30 minutes. Of course the time is also dependent upon the amount of weight applied. As you can see here, we've been a bit creative in our selection and application of weights...

We generally press the block to about three-quarters of its original height. Then it gets submersed in cool water to help it set before moving it to a storage container.

We've had good success with keeping it fresh in the refrigerator for more than a week - the key is to keep it completely covered with water, by at least half an inch. However, this tofu is so good and tasty that it rarely lasts that long!
For exact instruction for making various styles of tofu, along with a host of great recipes for using it, I highly recommend the book that got us started - Andrea Nguyen's Asian Tofu.


Very cool guys. I remember my mother made her own tofu for a while, I don't know what she used for the coagulant. Lots of uses for the lees too (called okara in Japan) from traditional sides to fillers for hamburg or even cookies.
ReplyDeleteWe always save the lees, but I have to admit we don't usually get around to making anything with them. We need to be better about using them.
DeleteNice job. We've been making tofu off and on for a couple of years, though I'm not as "scientific" as you. The Missus loves okara and the soy milk more than the tofu....
ReplyDeleteWe've never stopped at the soy milk phase. We should try it some time.
DeleteLooks great! The Mister doesn't eat tofu so I don't buy it very often. I had an uncle who used to own a tofu shop in San Francisco back in the 80's when he wanted to make fresh tofu for his restaurant. I always found the process to be tedious but you guys have a way of making things seems so straight forward. :-)
ReplyDeleteI think the process of making things like tofu is either something you enjoy or you don't. It isn't difficult, but it definitely takes some time.
DeleteThanks a lot
ReplyDelete