Pancetta Tesa - Curing Meat the Easy Way

What if I told you that you could make your own pancetta with almost no effort, and without needing any special equipment or environmental conditions? Well, you can!
We've written about homemade pancetta before - in fact, it was one of our first blog posts and our first step into the world of making our own charcuterie. We've made pancetta numerous times since then, and it has been great every single time.
This latest version is a bit different though. Previously, we have always made rolled pancetta ("pancetta arrotolata"). This time, we decided to be lazy and just do it flat ("pancetta tesa"). Also, while we normally age our meats in our meat/beer/cheese fridge, we realize that not everybody has one of these at their disposal, so we decided to try doing the whole process in our regular refrigerator.

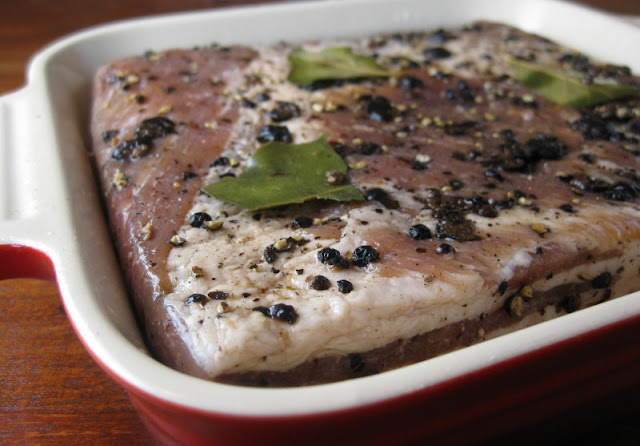
Whether you are making tesa or arrotolata, the first step is the same. Fresh pork belly gets cured for about a week in a dry rub of salt, brown sugar, garlic, peppercorns, juniper berries, bay leaves and pink salt. The above picture is what it looks like after this first week of curing.
For tesa, the next part is easy: rinse it, dry it, and then put it on a rack to air dry for about a week - all right in your refrigerator.
We were concerned that the cold, refrigerated air might be too dry and harsh. So, to help prevent the exposed meat from hardening into a little brick, we kept it fat-side-up and elevated only about an inch above a shallow tray. This both protects the tesa and slows the drying time. It worked well and our belly was shiny and reasonably dense after hanging out for eight days. Finally, we put into a plastic bag for a few more days to allow moisture to redistribute and rehydrate any slightly over-dried edges.
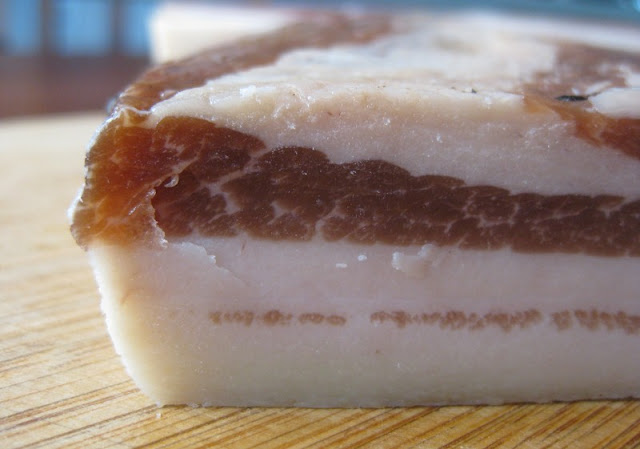
It came out looking beautiful - nicely cured and not over-dry:

And it tasted even better than it looked:
Vegetable hash. Pancetta tesa lardons. Tomato jam. Fried egg.

How did it compare to previous batches of pancetta we've made? Very favorably, indeed. Maybe not quite as photogenic as the rolled version, but it tasted every bit as good.
So, for those of you who have been procrastinating about taking a stab at curing yourself some meat, you really have no excuse not to do it now.
1 (2.5 pound) slab pork belly, skin removed
2 tablespoons (30 grams) kosher salt
4 teaspoons (15 grams) brown sugar
1 1/4 teaspoons pink salt
2 garlic cloves, minced
5 teaspoons coarsely crushed black pepper
4 teaspoons coarsely crushed juniper berries
2 bay leaves, torn
1/4-1/2 teaspoon freshly grated nutmeg (optional)
Trim the belly so that its edges are neat and square.
Combine the ingredients for the cure in a bowl, and mix thoroughly. Place the belly in a nonreactive container just large enough to hold it (or use a sealable plastic bag). Sprinkle the mixture all over the belly, turning it as needed to give it a uniform coating.
Cover and refrigerate for about a week. Flip it over every day and gently redistribute the seasonings with your fingers. After 7 days, check the belly for uniform firmness. If it still feels squishy, return it to the fridge for another 2 or 3 days.
Once cured, remove the belly from the container, rinse it under cold water, and pat it dry. Lightly oil a metal rack and place it on a shallow tray. Place the belly on the rack, fat side up, and refrigerate uncovered for up to two weeks. When the pancetta is nicely solid, but not too hard or dry (usually 6 to 9 days) place it in a plastic bag and return to the refrigerator for another 3 or 4 days. This will help rehydrate any hard edges or corners.
When ready to use, cut into lardons or cubes, saute gently and add to your favorite salad or pasta. Portion the remainder into 2 to 6 ounce pieces and freeze for future use.


